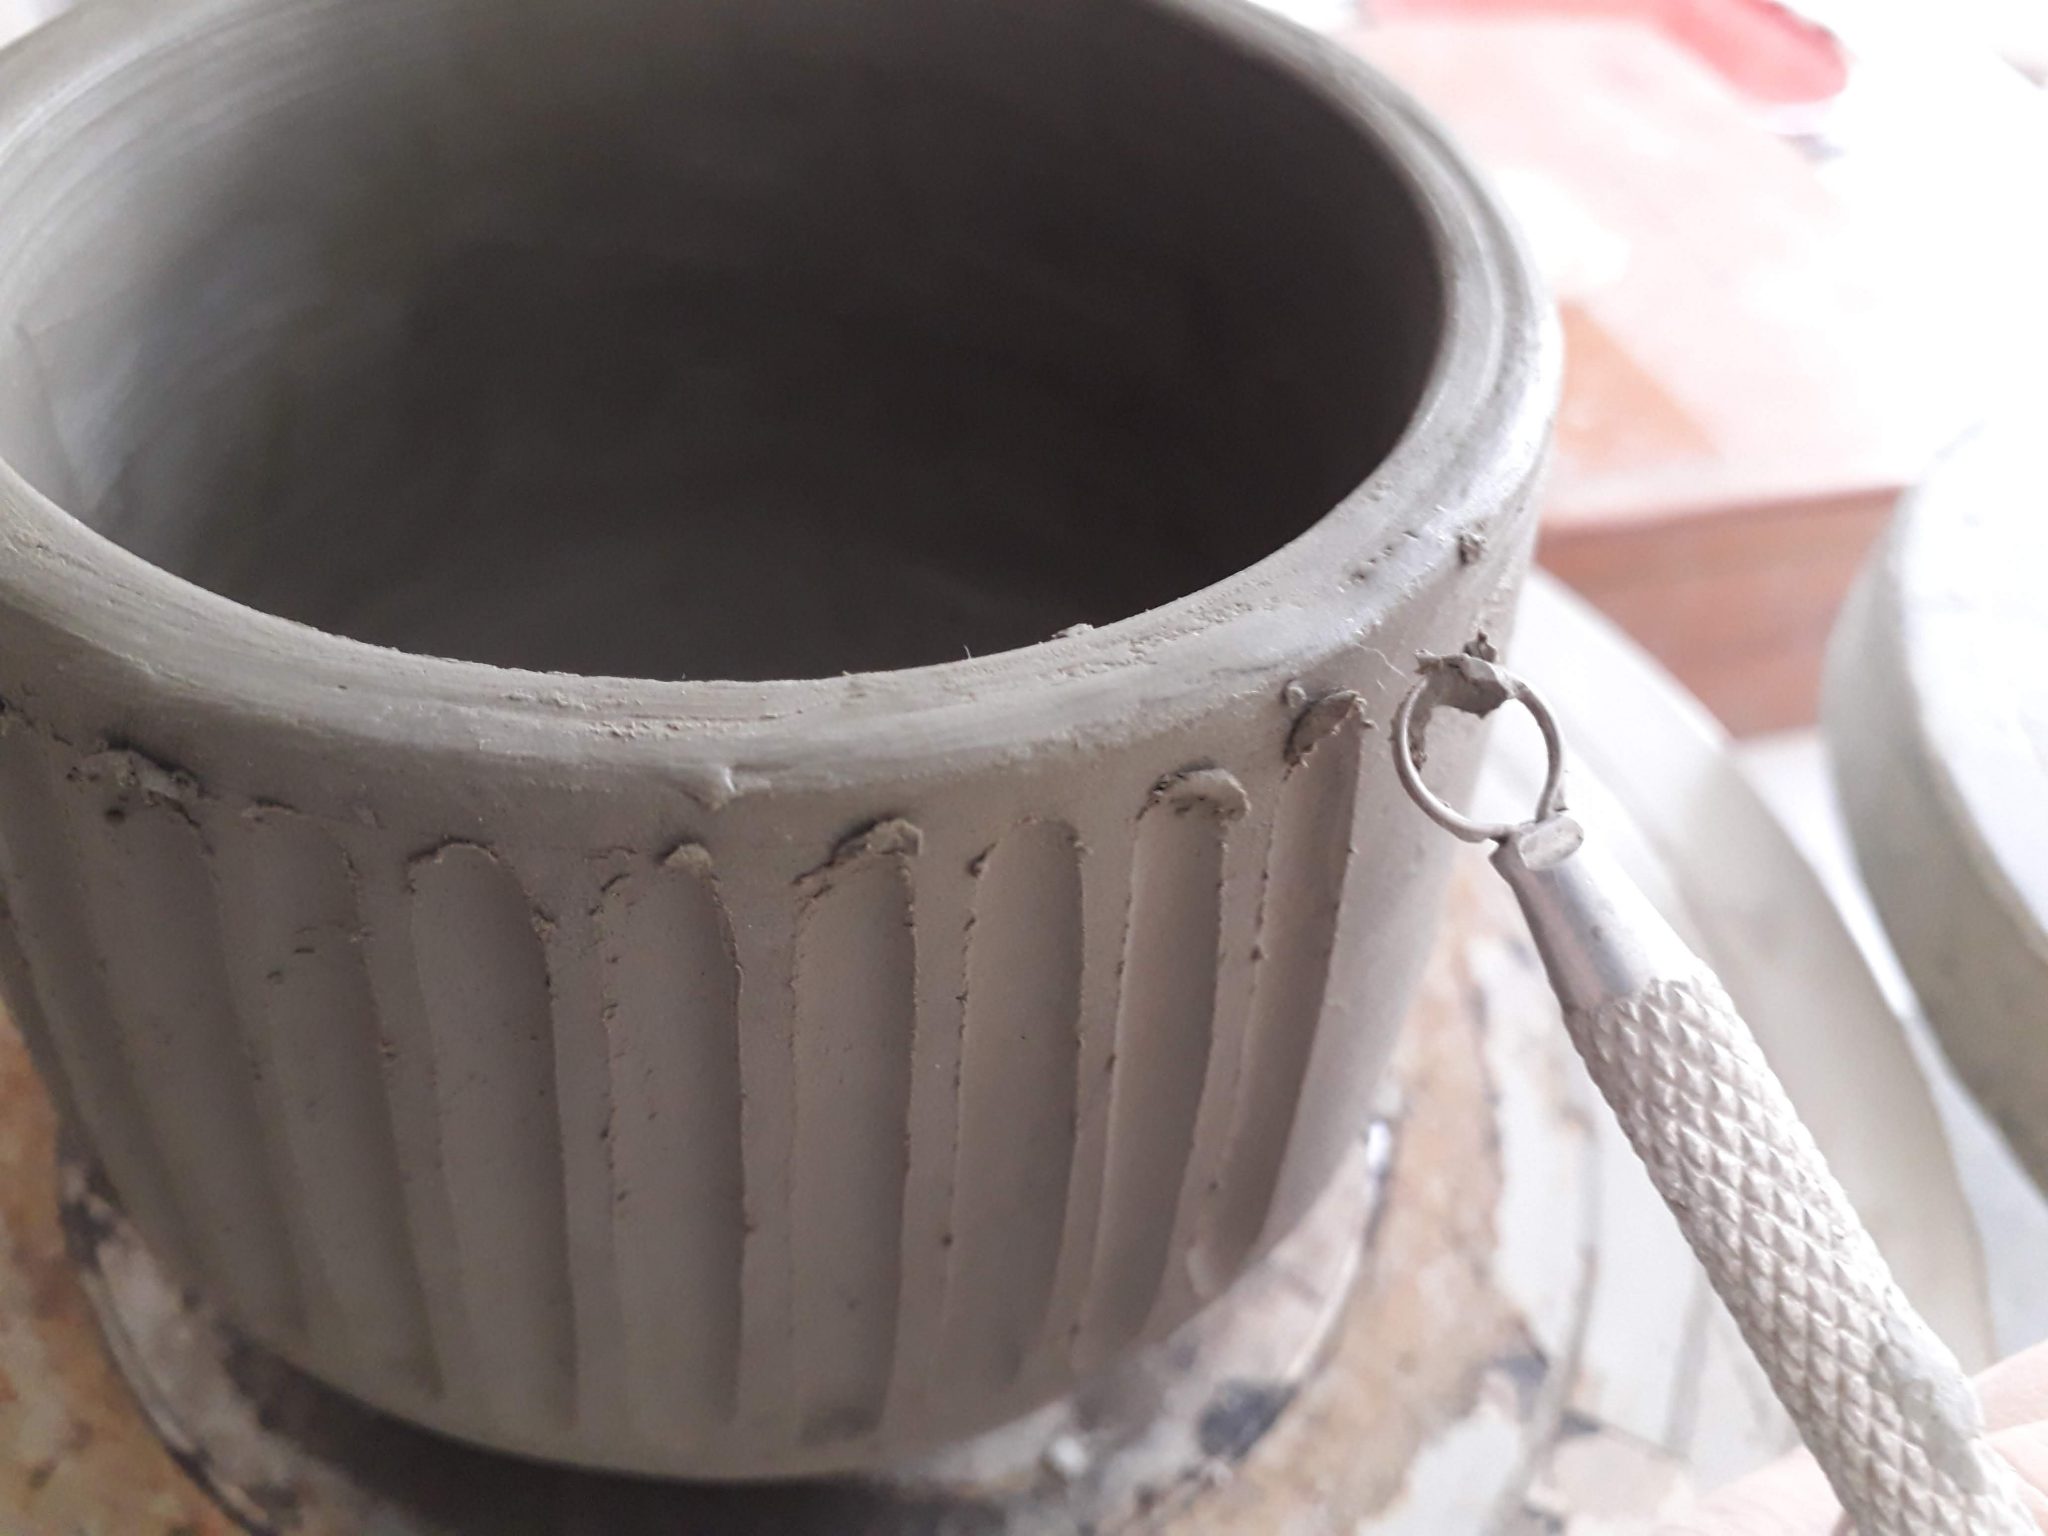
Grooves are a great way to give a ceramic object a texture, to give it personality and elegance. Here are 4 small tips to do them best.
1. CLAY HARDNESS
The piece must be of the right hardness to be engraved. “Leather hardness” is the expression used in the world of ceramics to define clay that is neither too dry nor too wet. If the object is too dry you will not be able to make the grooves, at the most you will make light scratches and in addition you will risk breaking the piece due to the too much pressure you will exert in trying to scratch it. If the object is too wet, however, you will not be able to make the incision easily because the strip of clay will come off with difficulty because it is too sticky; you will also risk deforming the shape of the object.
2. GET COMFORTABLE
You can choose which position to put yourself in to make the grooves. The object can be held vertically resting on the lath or on the table, horizontally resting on your knees or always horizontally resting on the table on foam rubber. If the piece is small, you can also choose to hold it in your hand. Experiment and choose your favorite position. I usually decide the position in relation to the shape of the object: if the object has straight walls I prefer to keep it vertically resting on the lath, if the object has a curvilinear shape I prefer to place it on my knees.
3. CHOOSE THE RIGHT TOOL
The grooves can be fine, thick, rounded, square. You just have to choose the tool that brings you closer to the desired effect. It is also important to hold the tool at the right angle, because even the angle can change the type of texture you are going to engrave.
4. DON’T BE TOO METICULOUS
The grooves will never be perfect and that’s normal. Practice a lot and you will see that the engravings will get better and better, but also accept that there are small imperfections along the engraved lines.
In short words you have to do a lot of practice and experiment, only in this way will you find your path that will surely be the right one for you!


