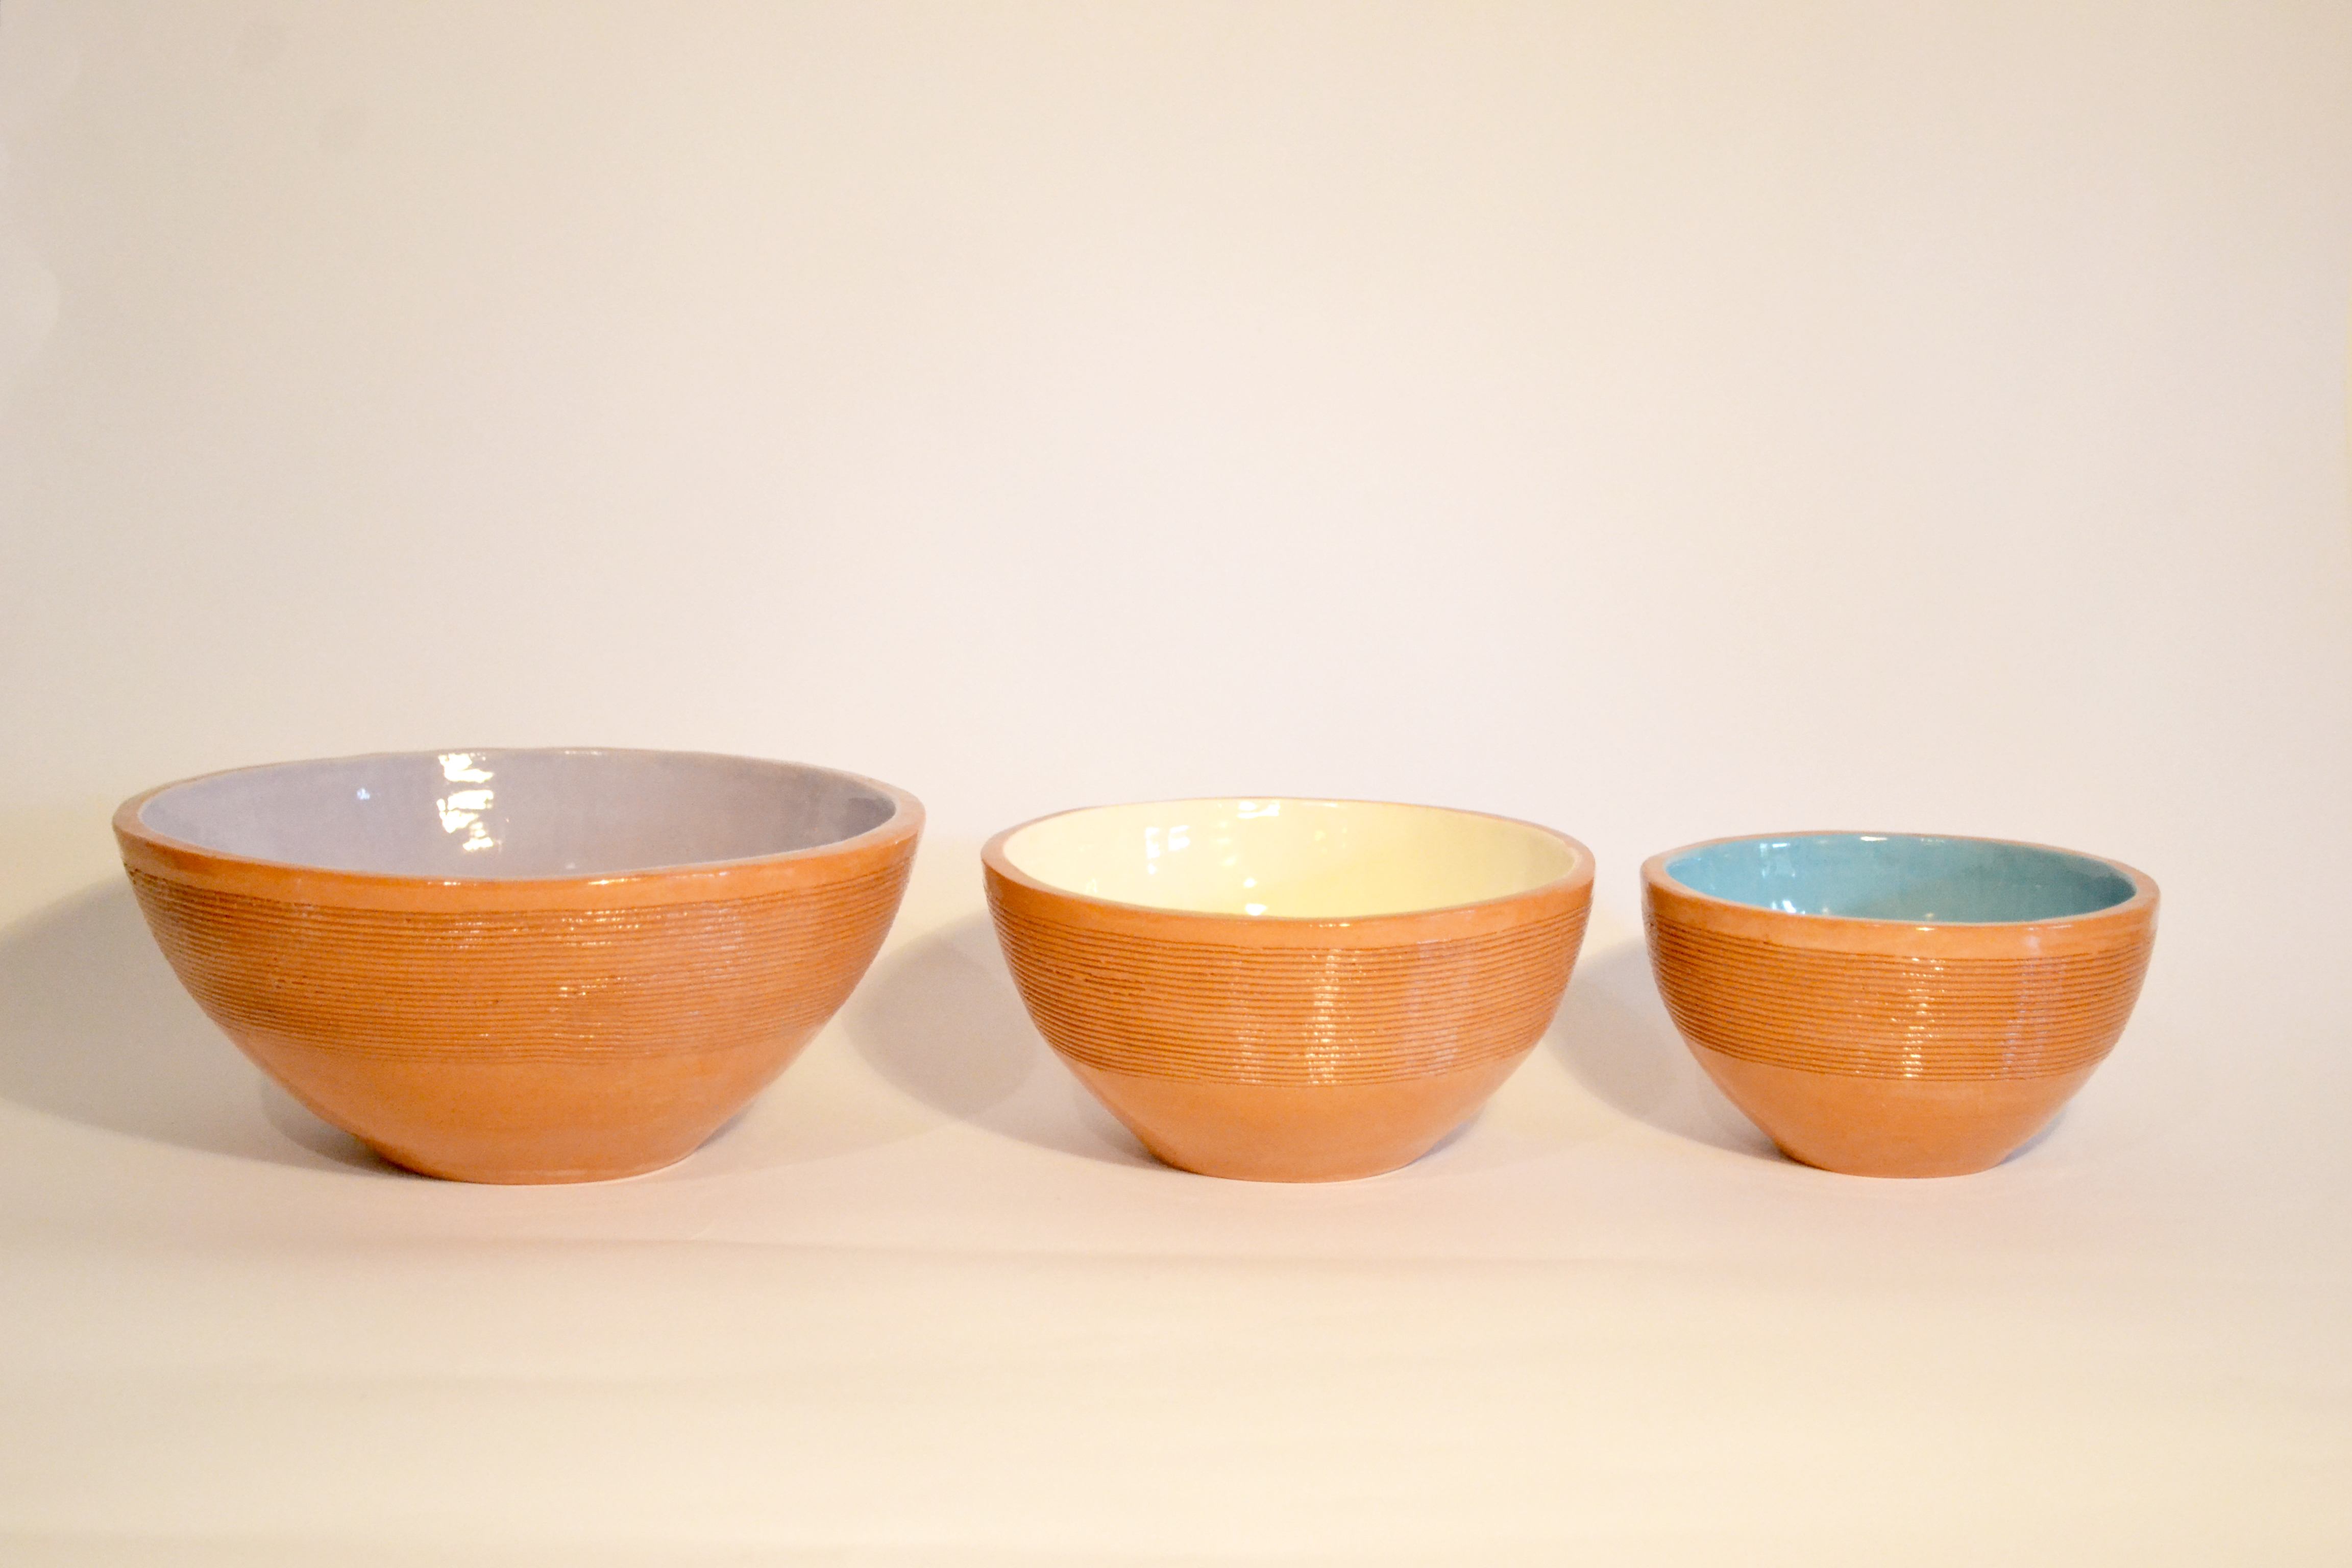
Discover below how I work the clay and transform it into ceramic objects using a long manufacturing process centered on the Coiling Technique
2. DESIGN
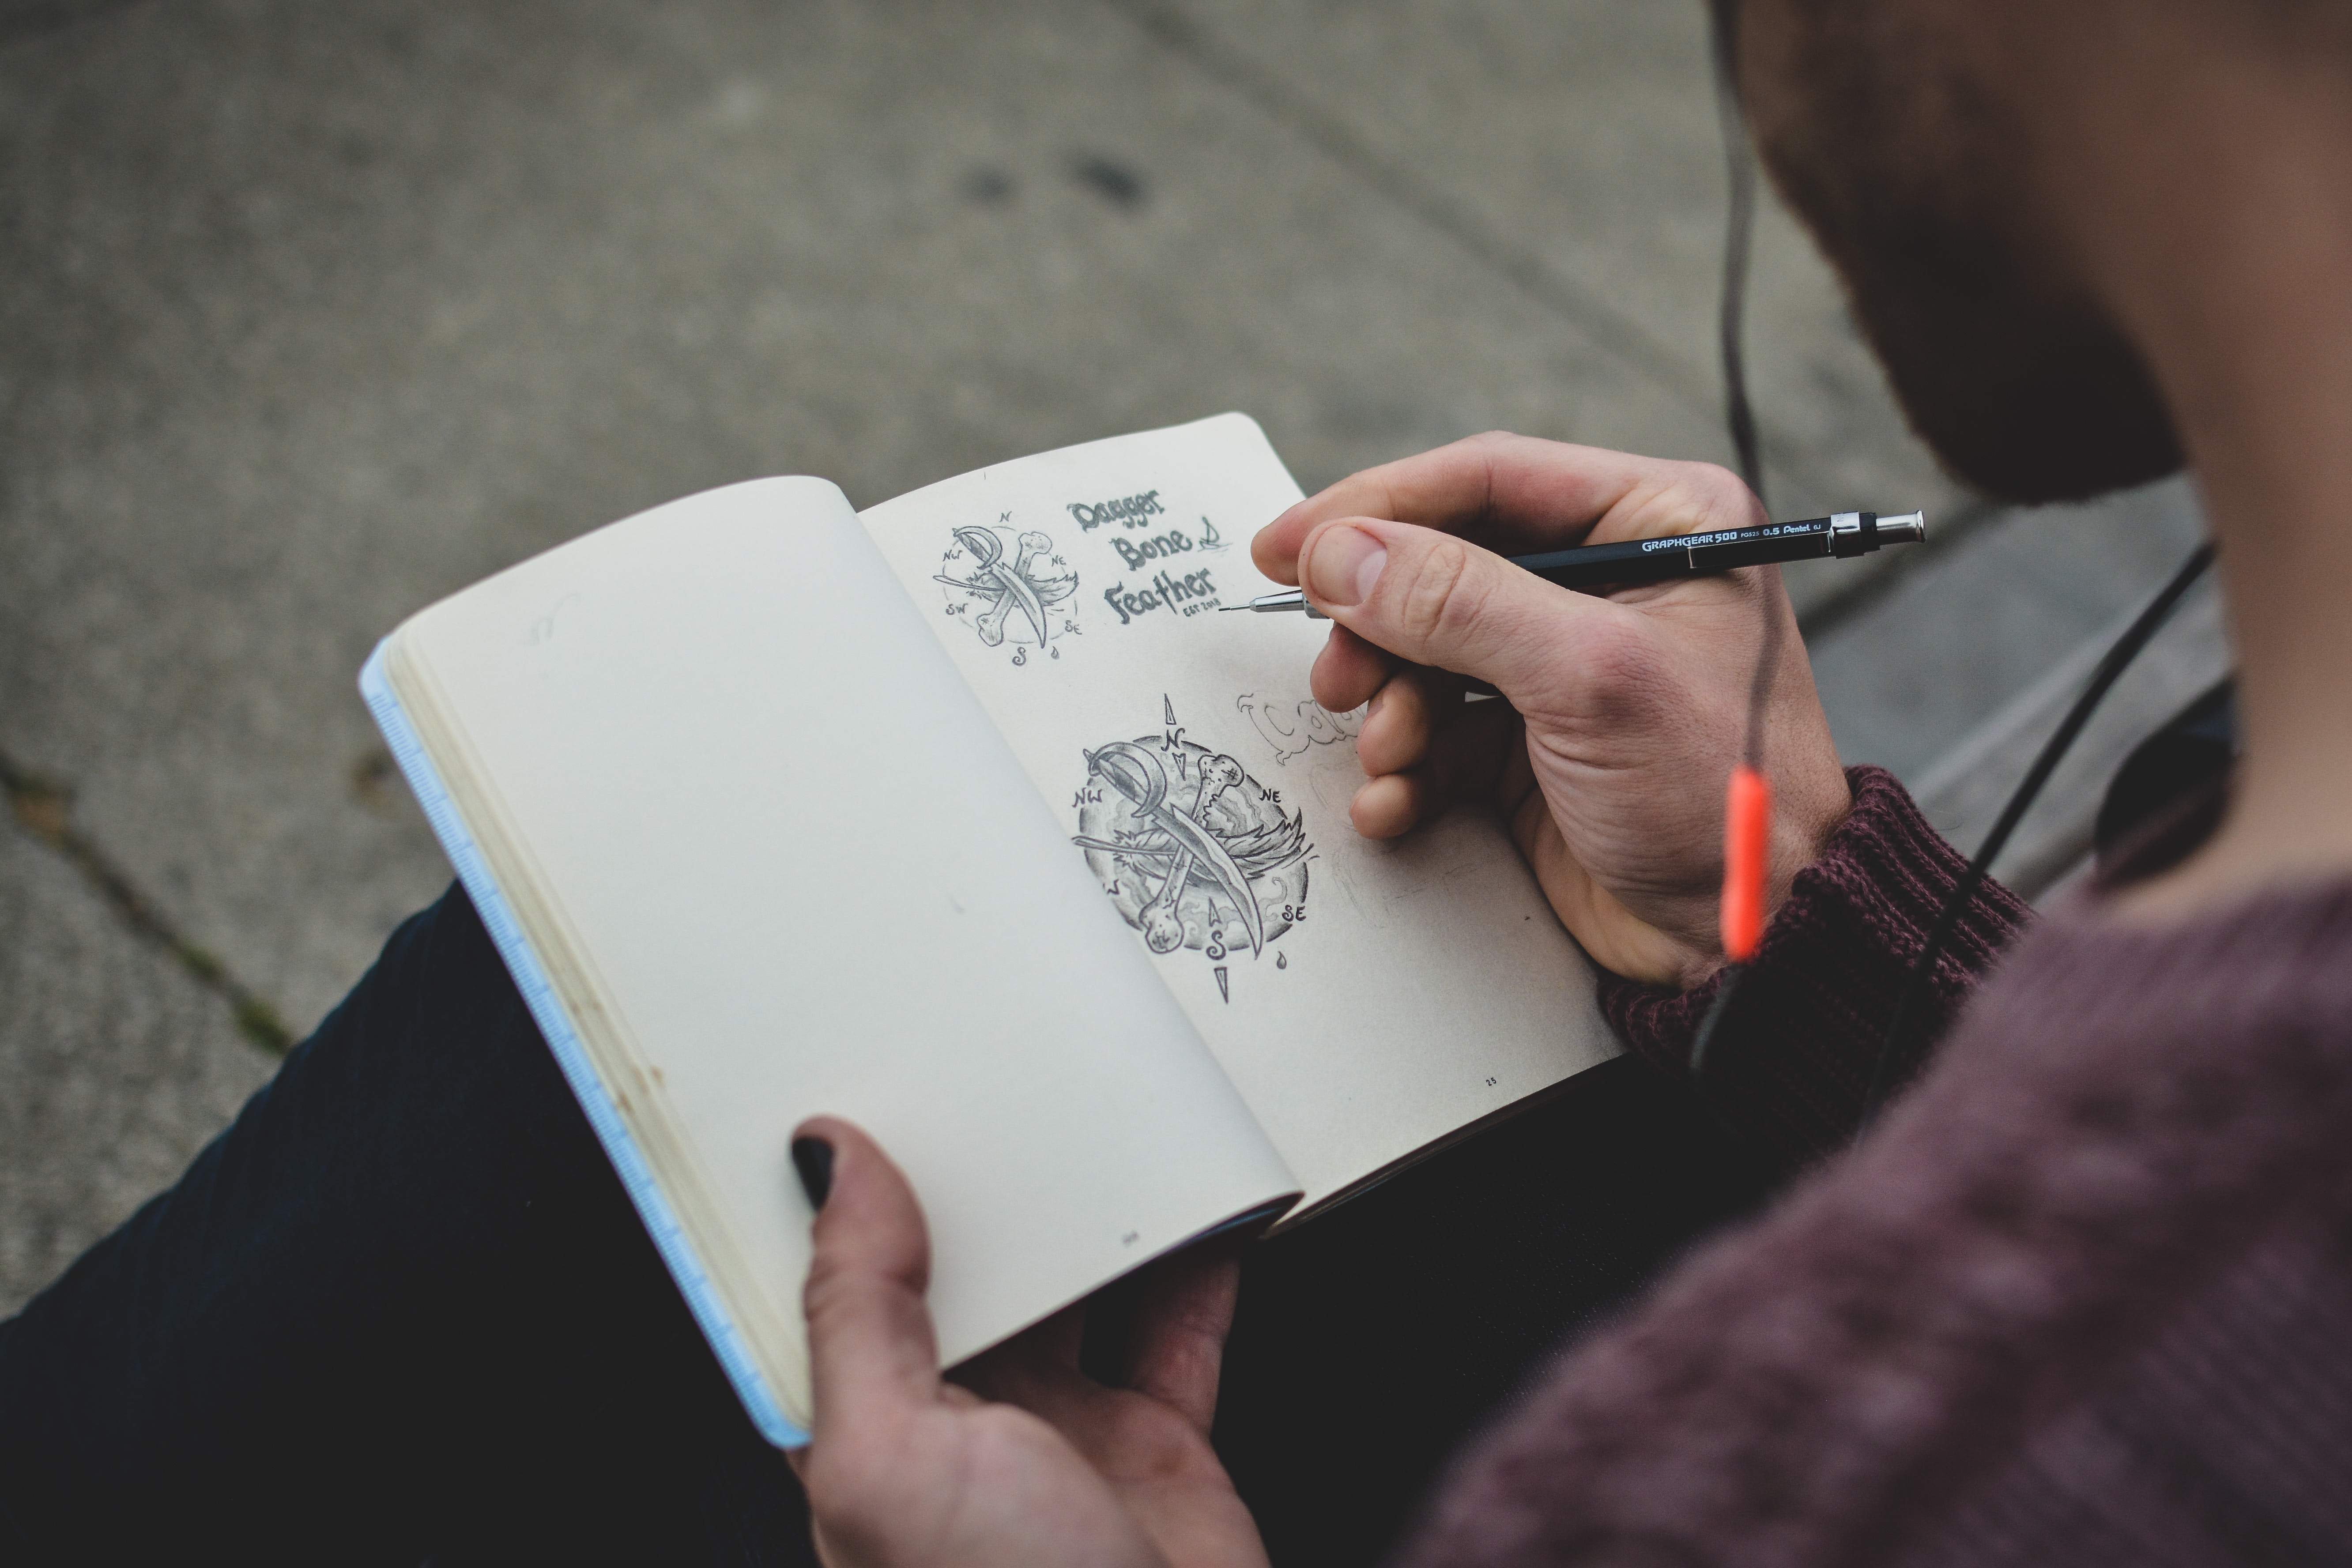
In case you have chosen the Custom Design option, I proceed with a draft design of the object based on your first specifications. Then we have a reciprocal exchange of information to arrange a final design that fits at best your expectations.
3. PROCURE
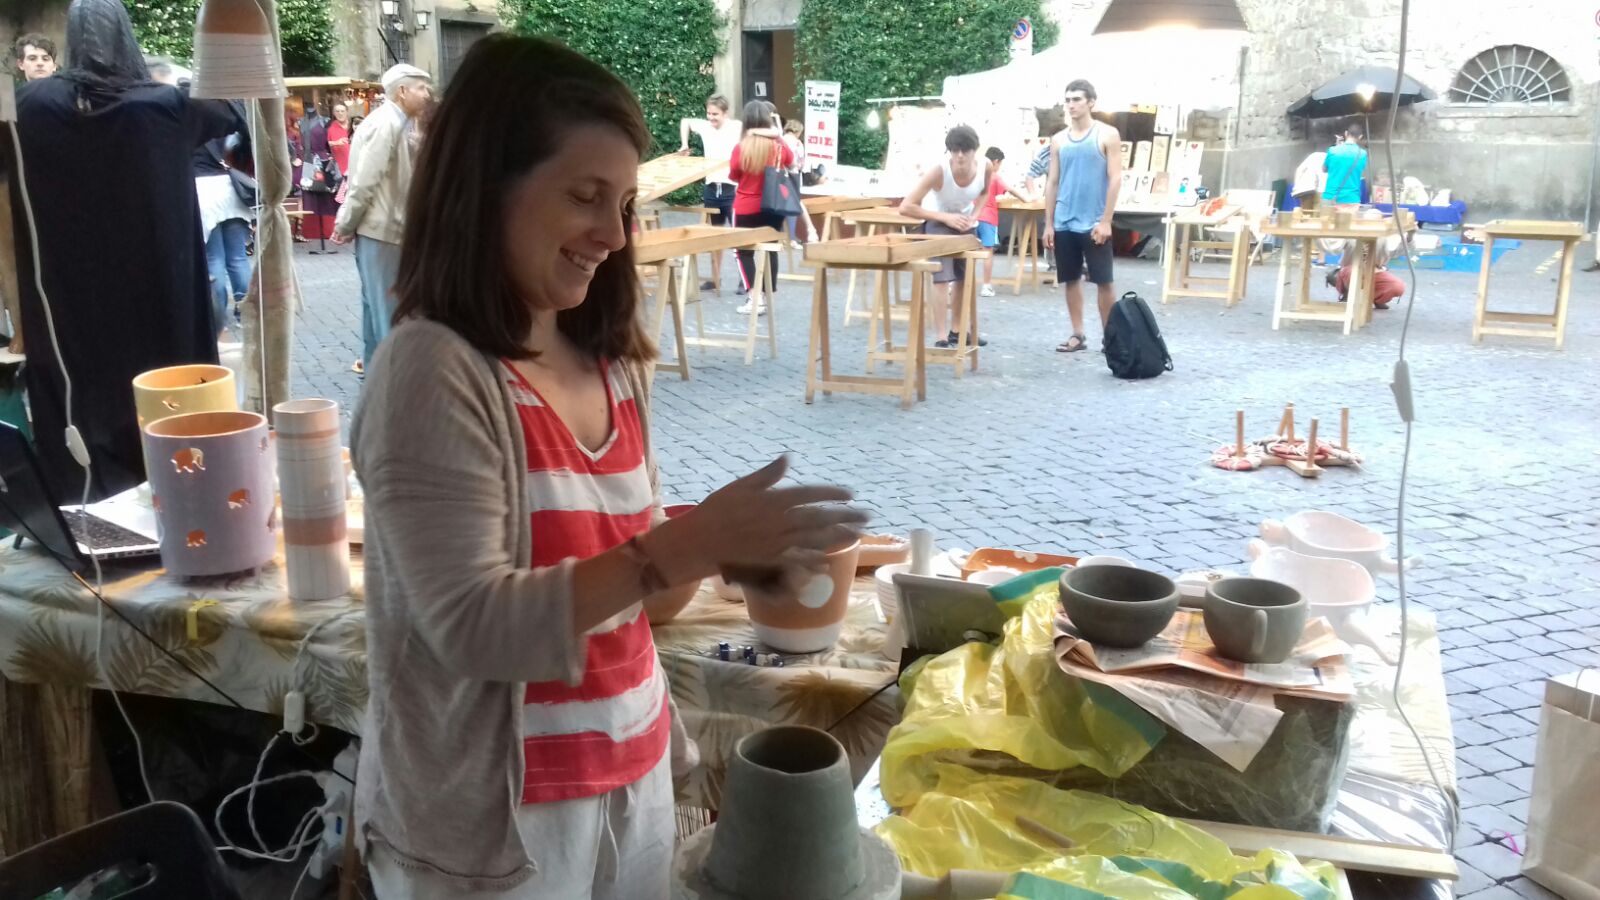
In case you have chosen an object not in stock, it is possible that I have to procure the materials required for its manufacturing. In fact, I work on my own and with very low stocks, because I don’t have the chance to store many final products at my place (I work to open my studio very soon, but for the moment…)
4. SHAPE
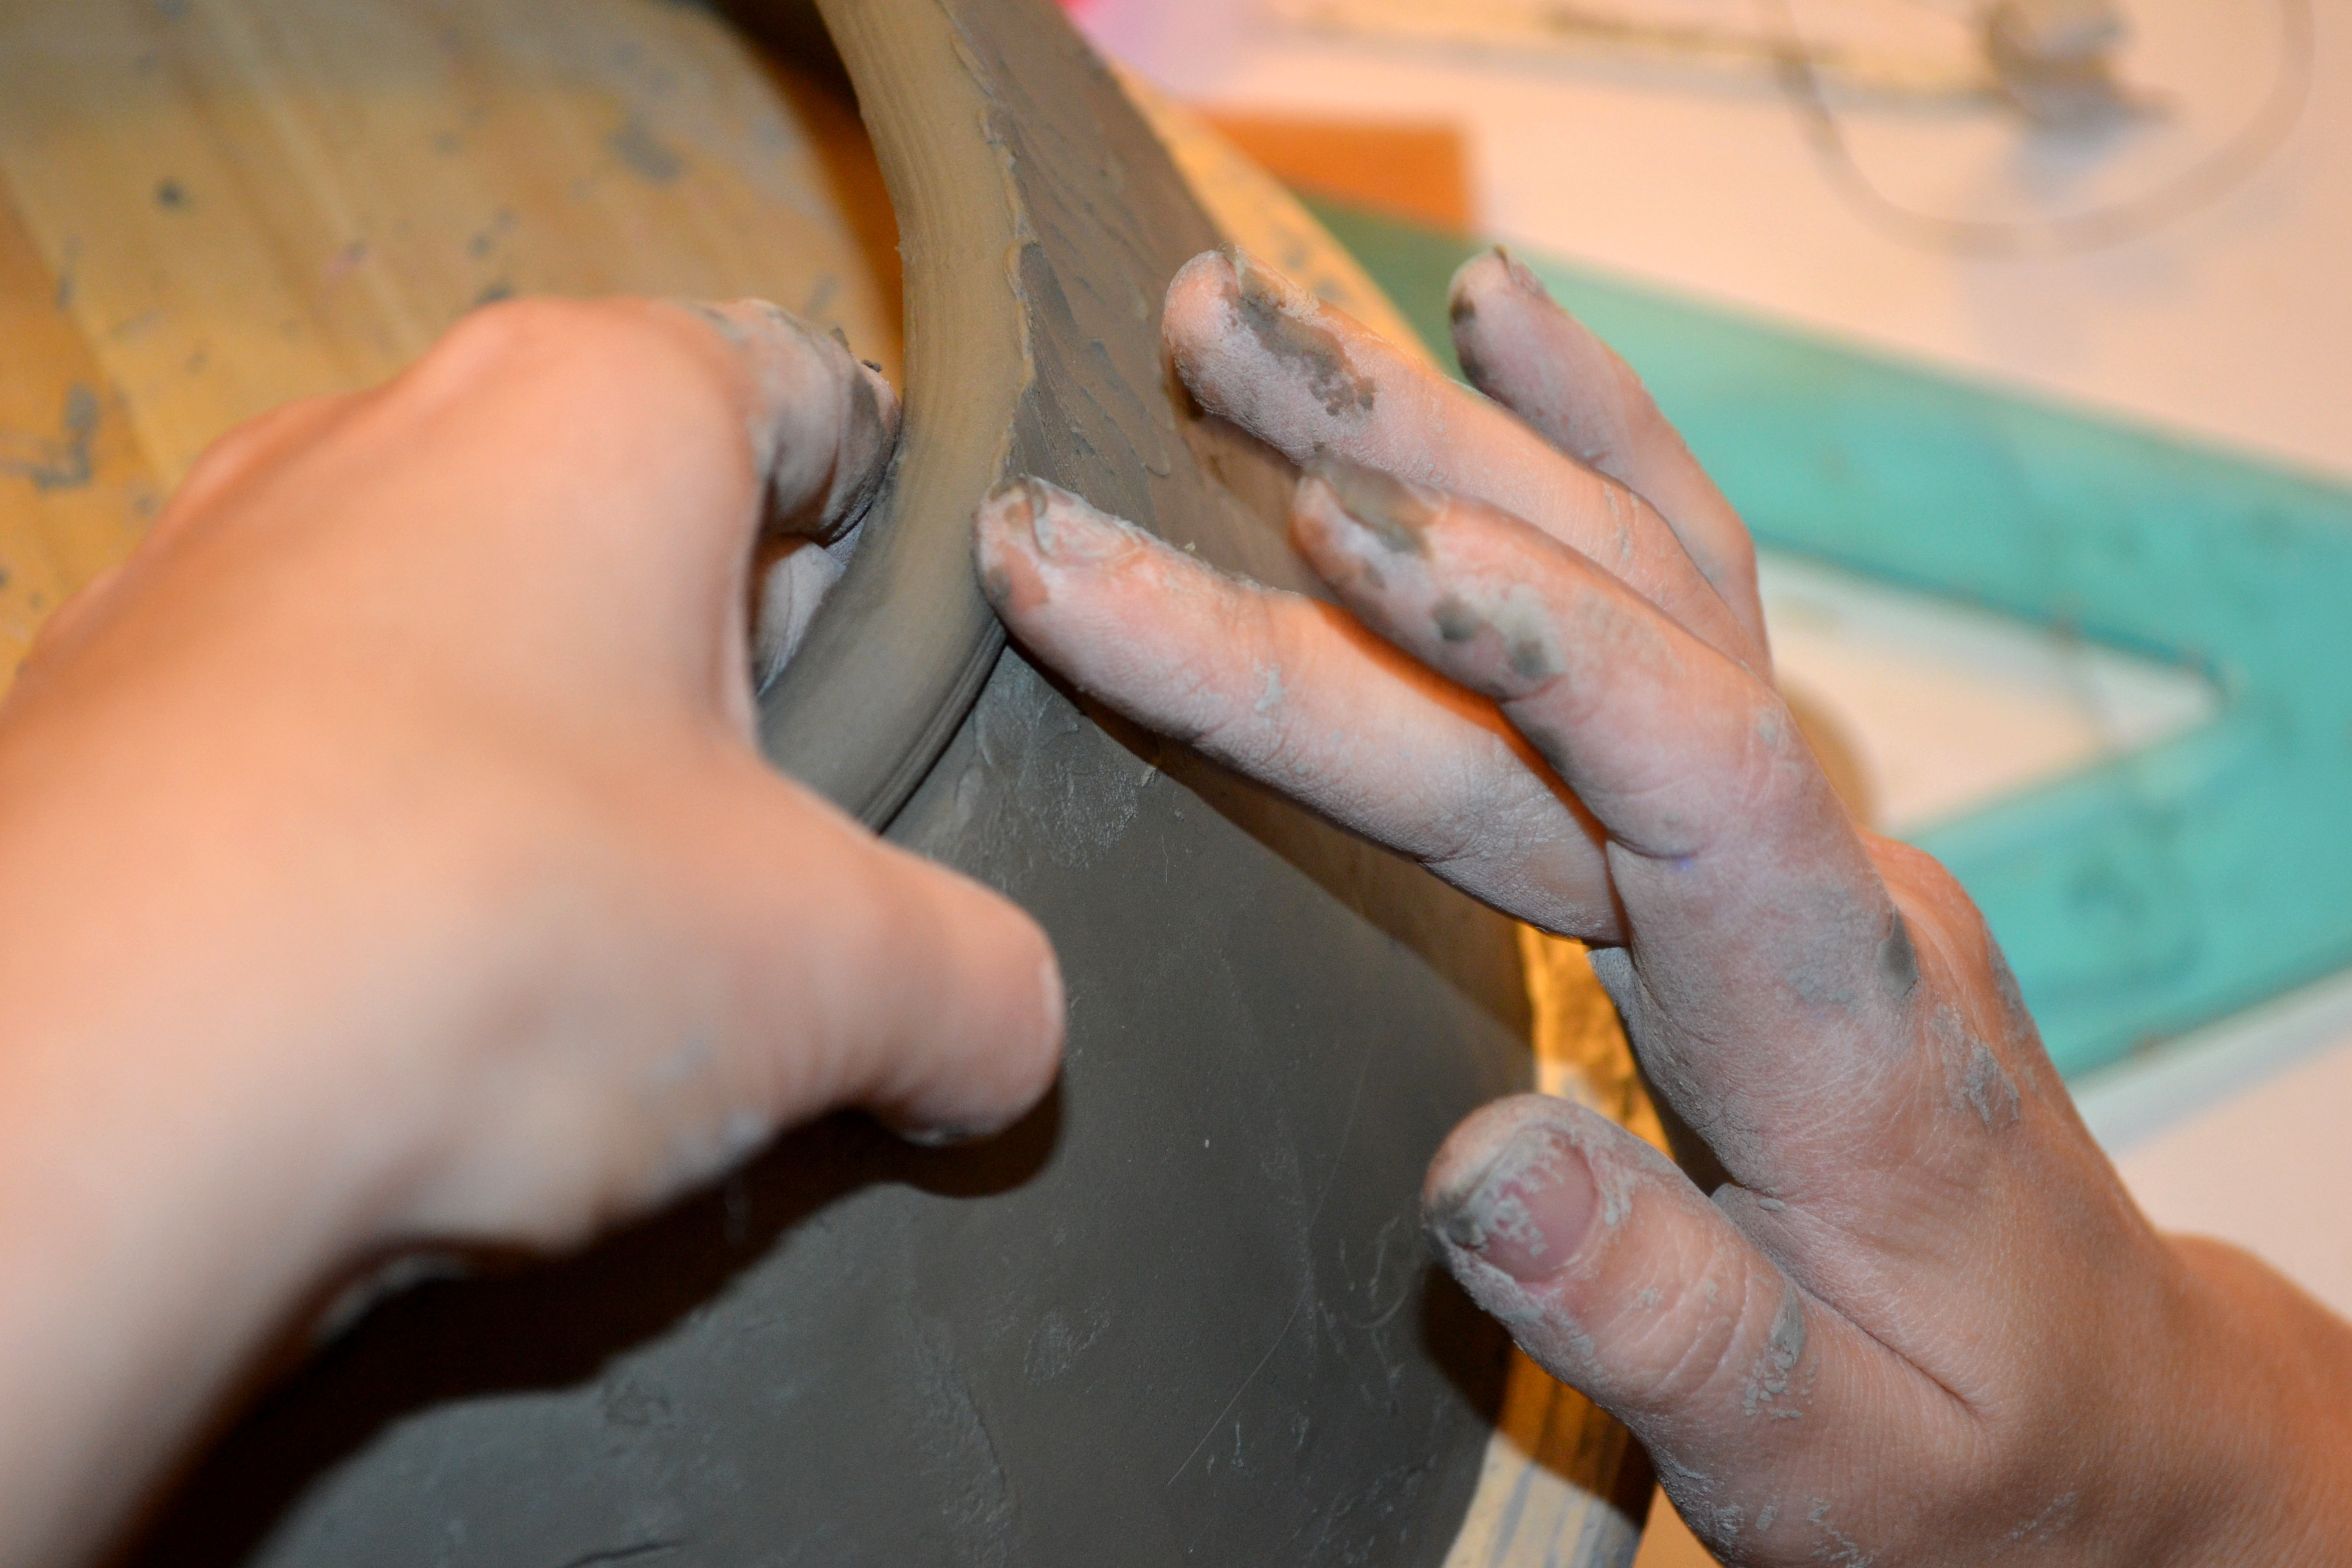
I start shaping the object. One coil after another the object becomes more and more defined. It is the gentle and slow work of the Coiling Technique, the way I model clay.
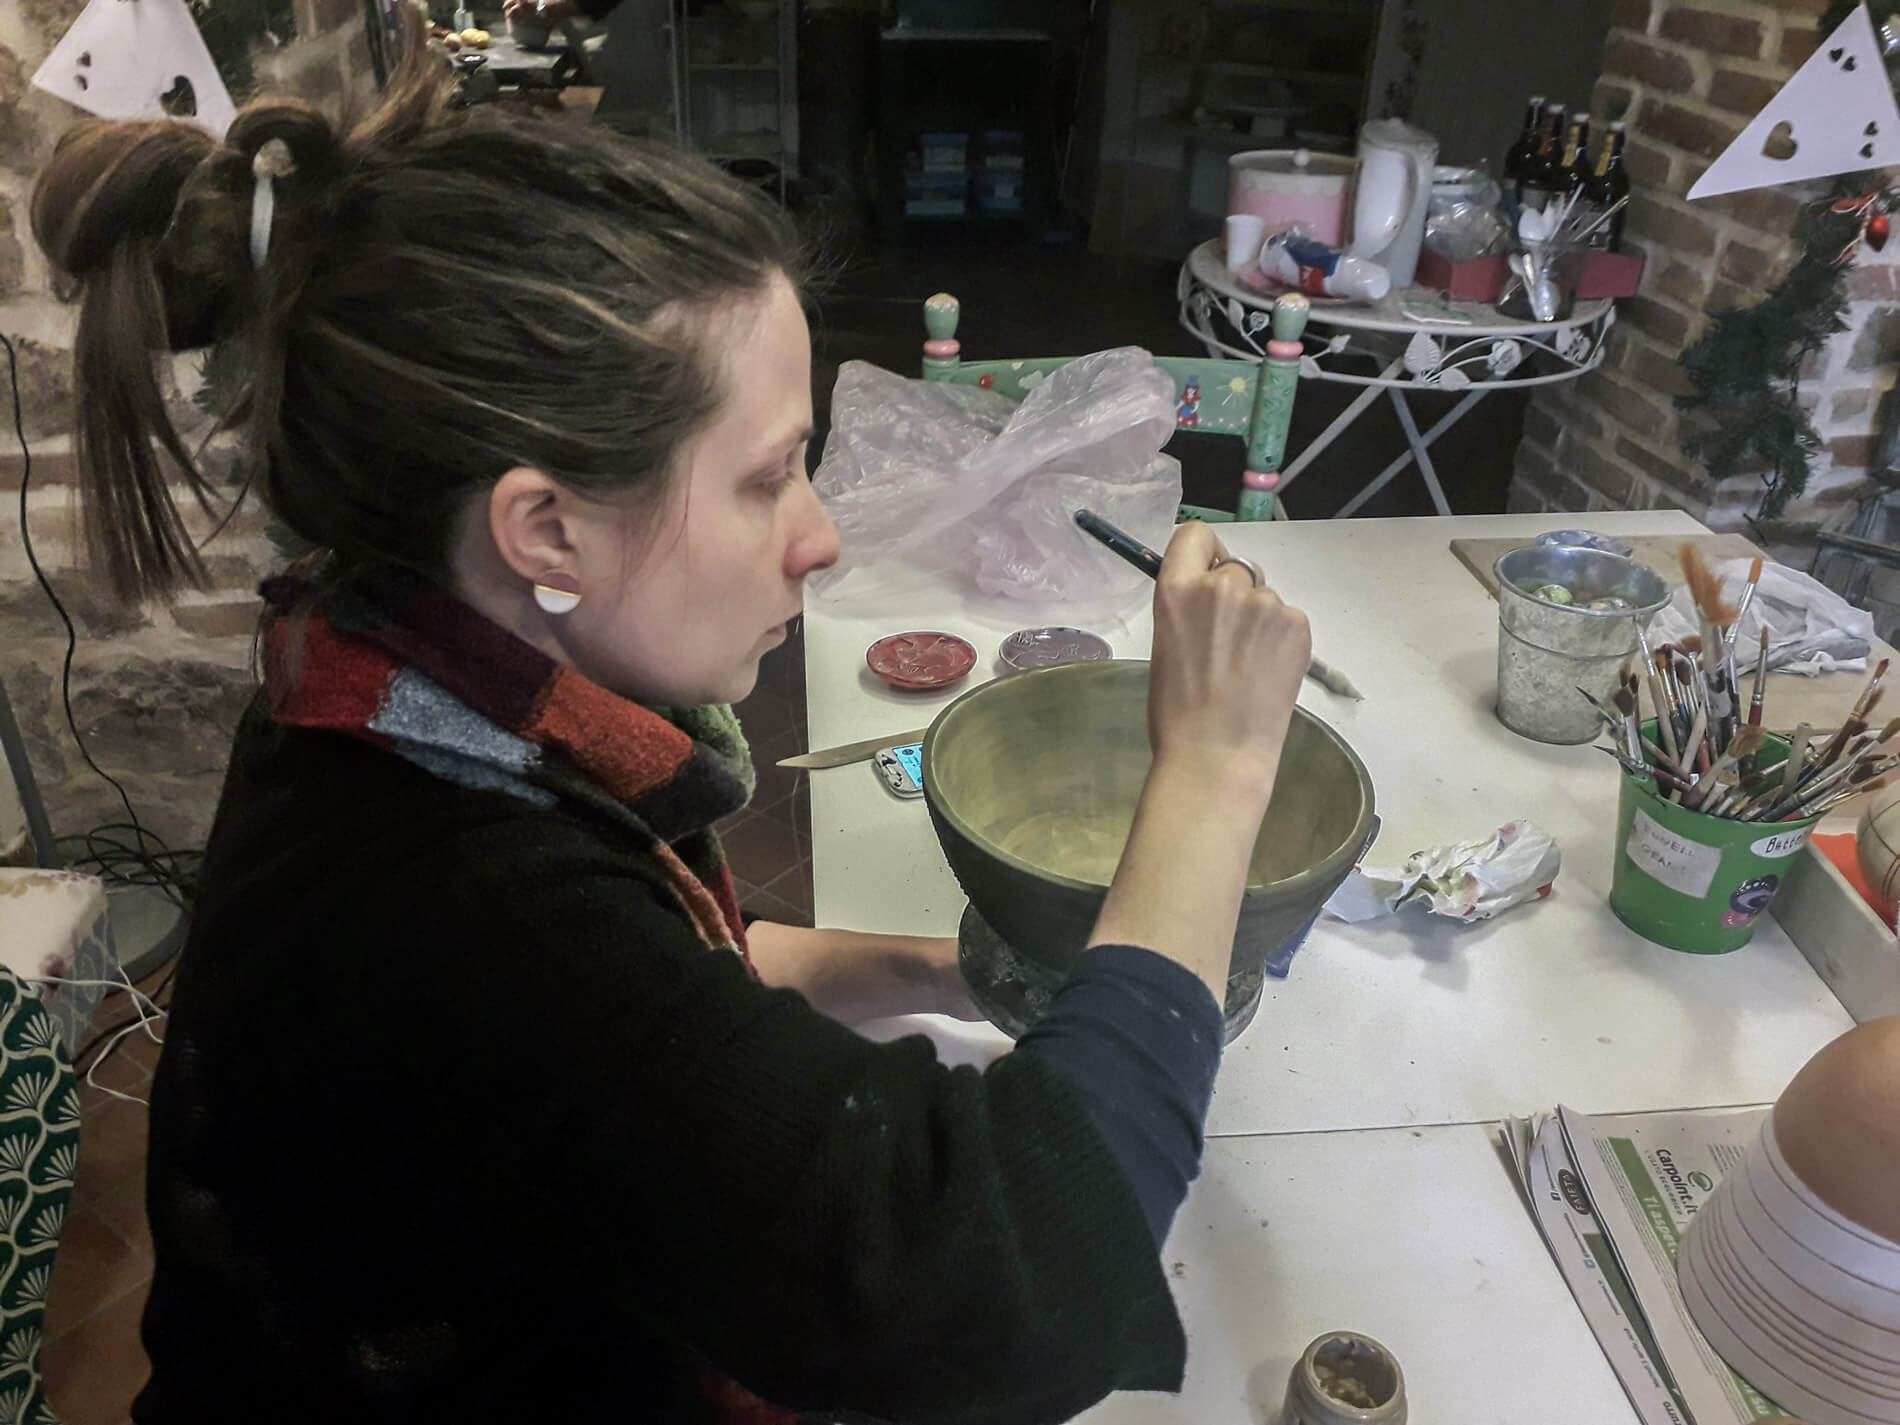
5. COLOR
When the shape is completed, I start coloring the object using engobbio colors or others.
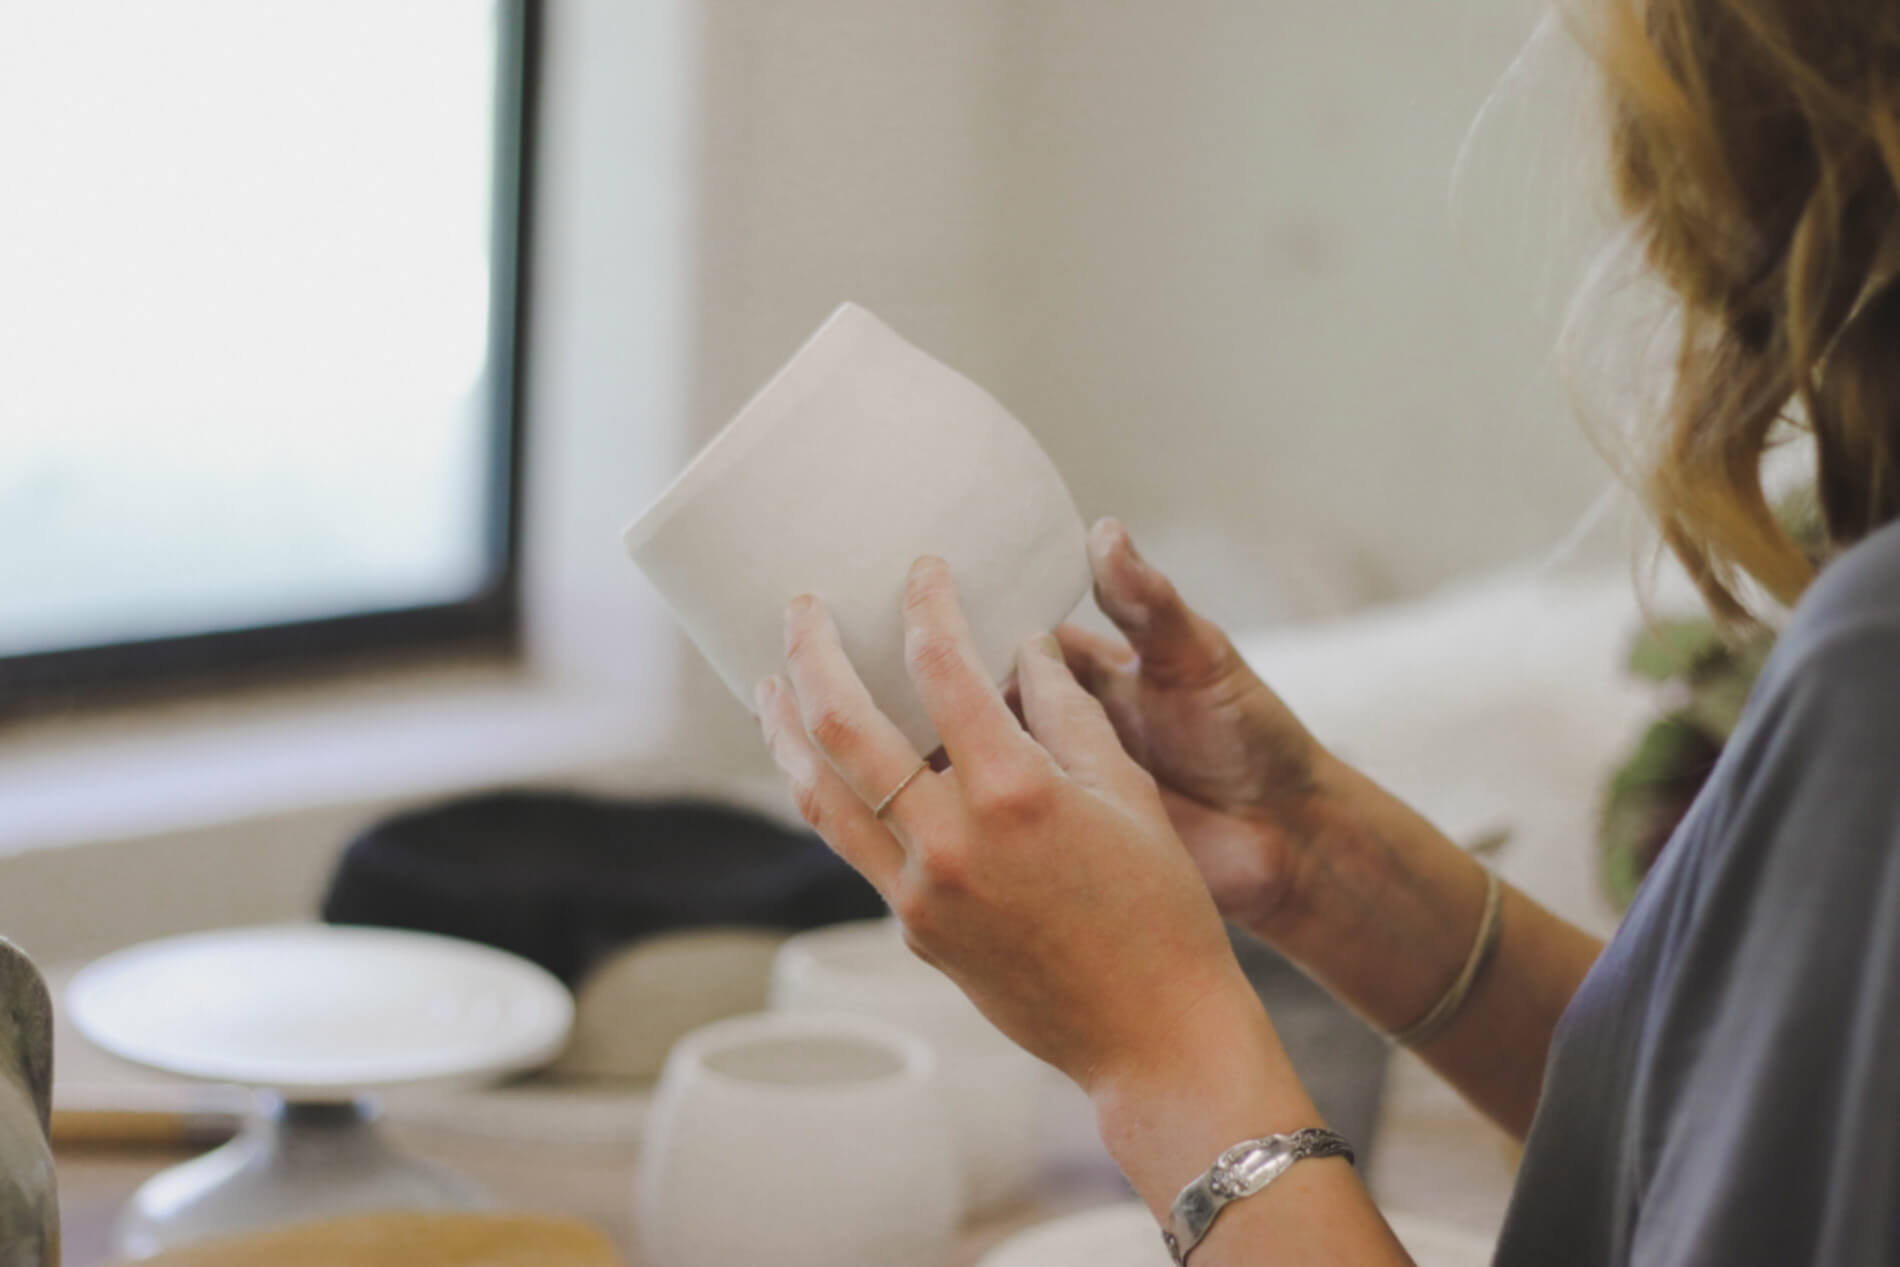
6. DRY
This phase can last from 5 to 10 days according to the type of object prepared. Clay must dry gently and slowly in order to prevent defects during the following cooking. I just have to wait, preventing the object to dry too quickly. I usually cover it or expose it to air, according to status of the drying process; I check it twice a day at least.
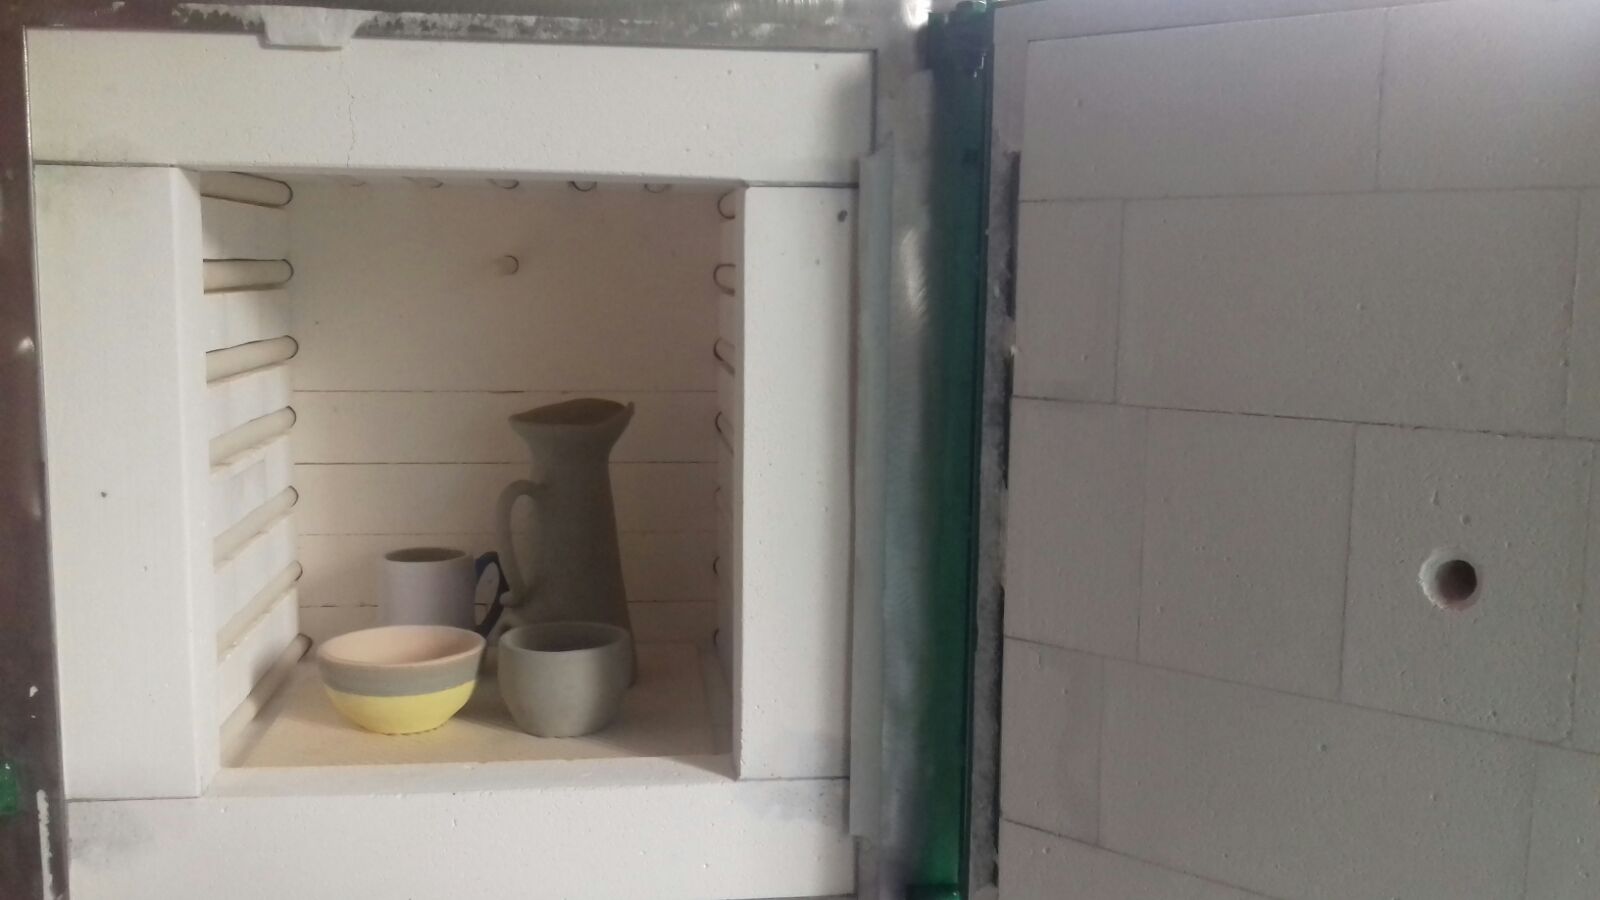
7. COOK
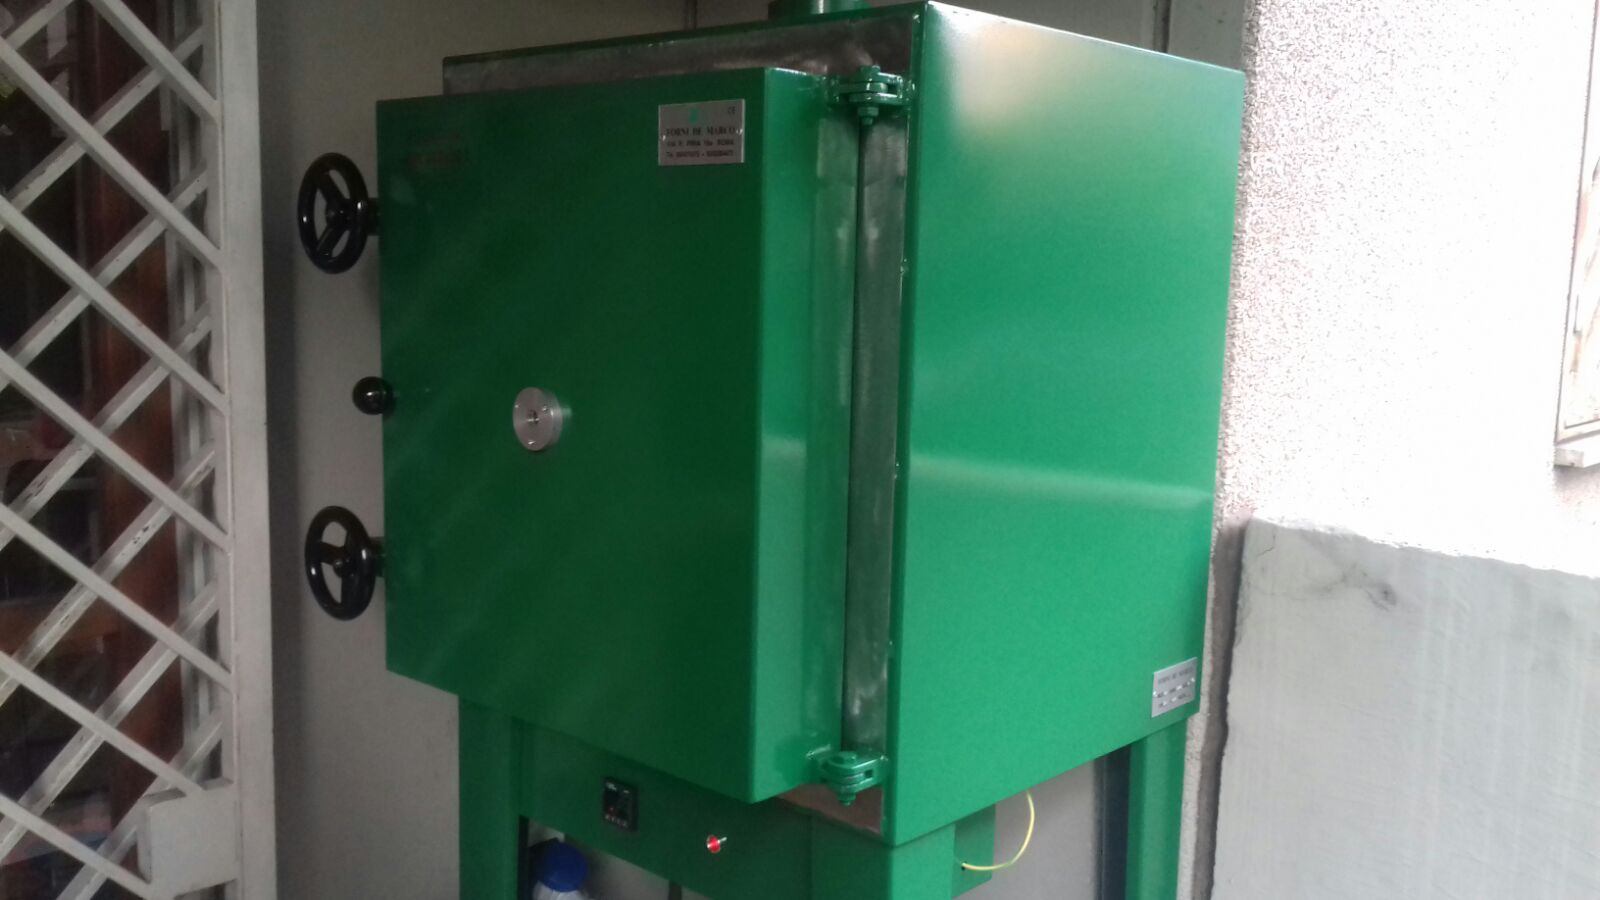
After a long pause that goes from 5 to 10 days during which the object gently drys, I finally prepare the cooking in the kiln. It is called “first cook” and it brings the clay close to 1000 °C, generating the “terracotta”.
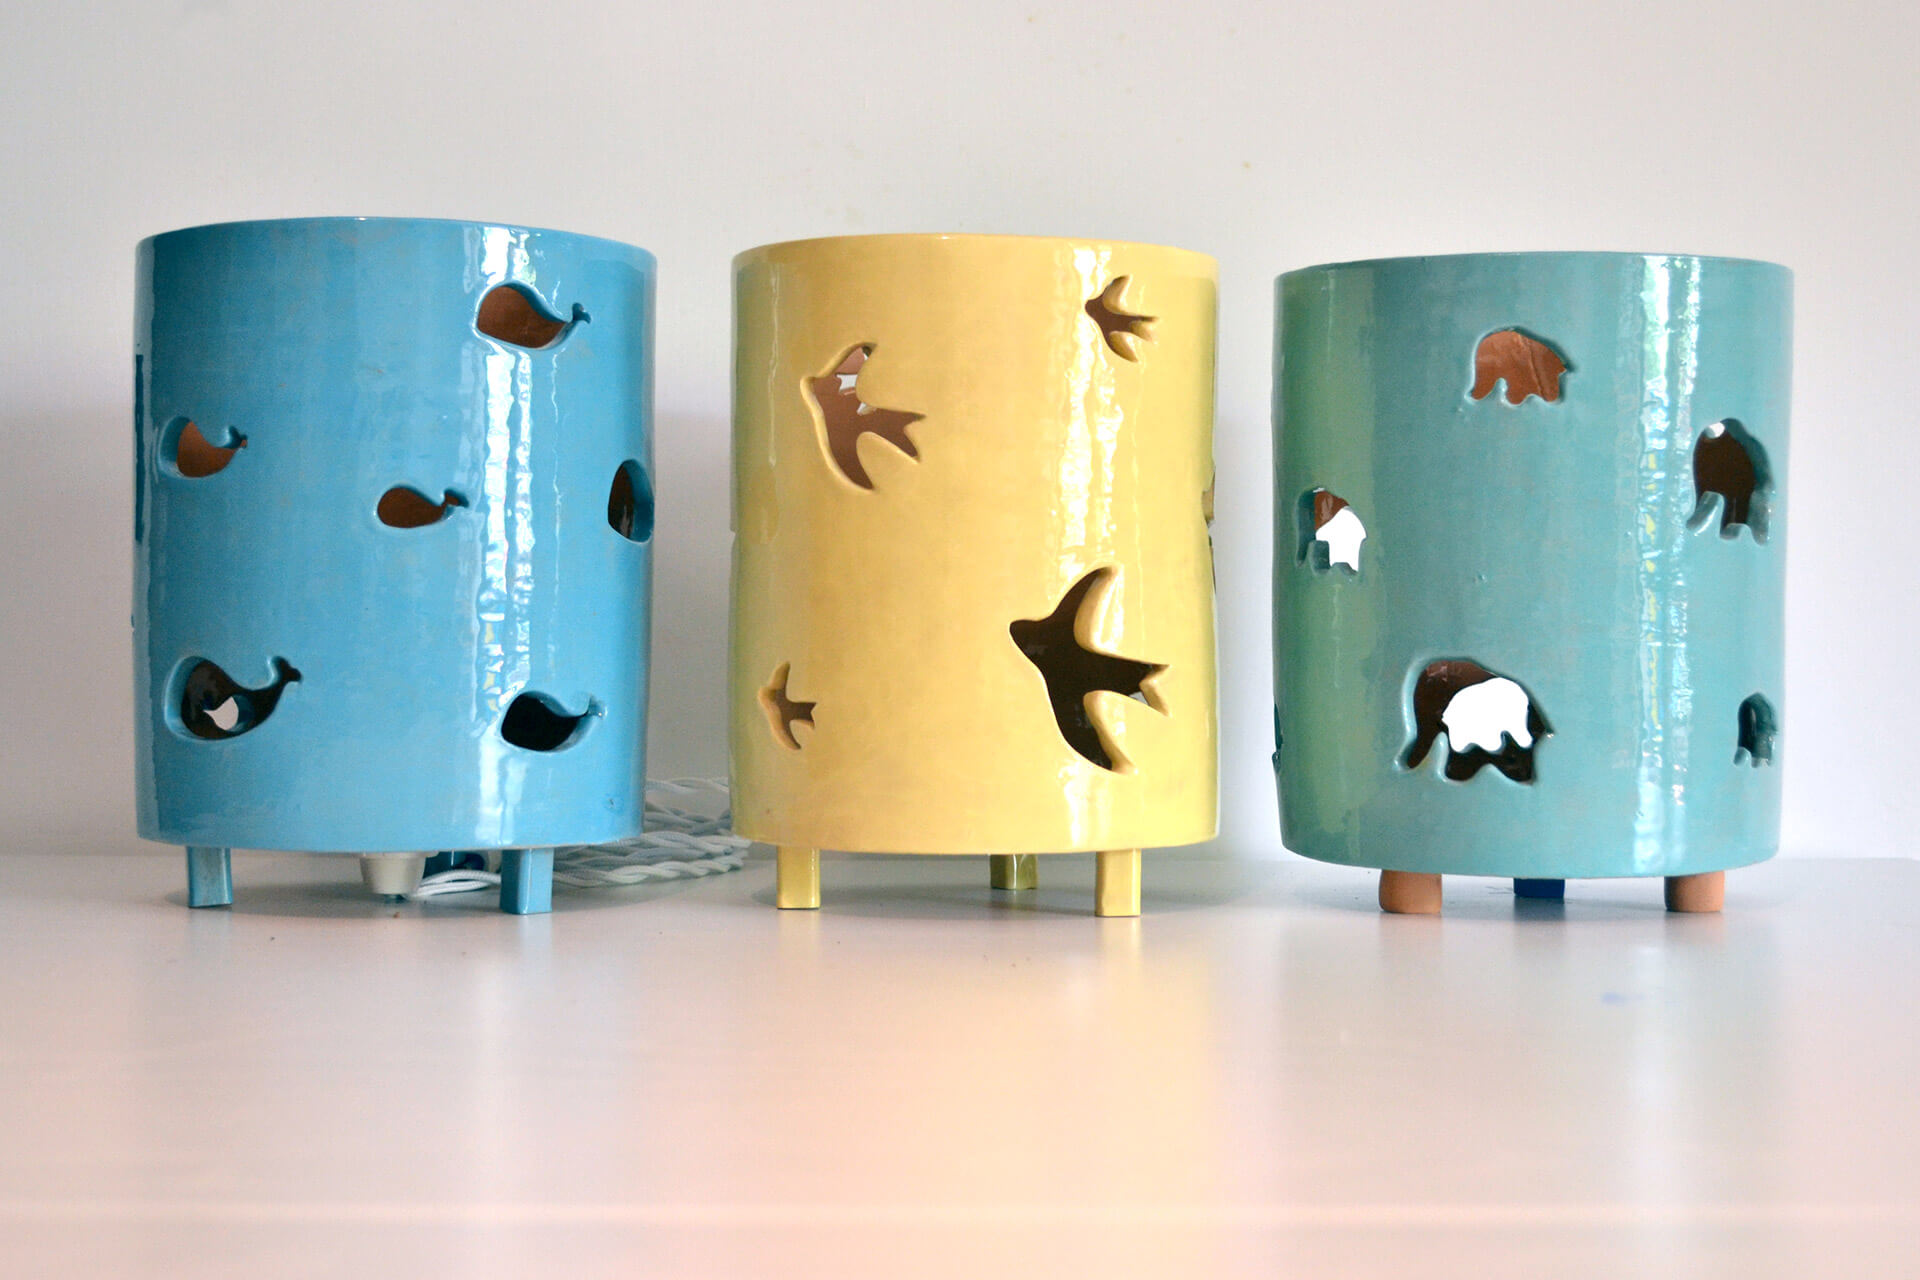
8. GLAZE
Now it is time to put glazes on the object. This gives the object the external reflective film that is typical of ceramic works.
9. COOK AGAIN
It is the “second cook”. The object goes again into the kiln and the final outcome is reached.
10. SHIP
I assemble the box and bring it to the shipping company that takes care of the final delivery to your place.


